Part 2: Installing nmaas
Once a working Kubernetes cluster has been deployed, we are ready to proceed to the next step - installing nmaas.
All the necessary components will be installed in a single namespace – nmaas-system. If this namespace has not been created so far, execute:
GitLab Installation
The first nmaas dependency that we will set up is GitLab, a self-hosted web based Git repository hosting service. Many applications that are deployed by nmaas users store their configuration data in a Git repository, allowing easier editing, and version management.
GitLab has an official Helm chart, and we will use it to create a basic GitLab installation locally. Some parameters must be customized in the values.yaml file before deployment:
global.hosts.domain– should be set to the domain that will be allocated to GitLab. Note that the final hostname where GitLab will be reachable will have agitlabprepended to it. Ifnmaas.example.localis set as theglobal.hosts.domainparameter, then GitLab will be available ongitlab.nmaas.example.local.global.hosts.ssh– in order for users to be able to interact with their GitLab repositories via SSH, the value ofglobal.hosts.sshshould be set to the MetalLB IP that will be assigned to this new service (usually the next available one) for the gitlab-shell component. If the IP is not known at the time of deployment, then after the initial deployment, once the LoadBalancer service is created and the IP is allocated, a chart upgrade can be performed, where theglobal.hosts.sshparameter will be set to the appropriate value.global.ingress.tls.secretName– an existing Kubernetes TLS secret where the TLS certificate to be used is stored.global.ingress.annotations.kubernetes.io/ingress.class– should be set to the ingress class used by the deployed ingress-nginx instance. In case of MicroK8s this should be set to public. In case of K3s, it should be set tonginx.- optionally, if an email server is available, the
global.smtpsection can be edited with the appropriate parameters so that outbound email is enabled.
| gitlab-values.yaml | |
|---|---|
| |
GitLab requires the deployment of a PostgreSQL instance. The necessary secrets containing the PostgreSQL passwords need to be created, as well as the secret containing the initial root GitLab password:
The root GitLab password will be used for login to the GitLab web interface.
We are ready to add the GitLab Helm repository and install the 8.2.x version of GitLab:
Once GitLab has been deployed, it should be possible to navigate to the login page using a web browser. After logging in, users are advised to configure the following settings:
- disable new user registrations (
Admin Area -> Settings -> General -> Sign-up restrictions)Sign-up enabledshould be uncheckedRequire admin approval for new sign-upsshould be unchecked
- enable webhooks to local addresses (
Admin Area -> Settings -> Network -> Outbound requests)Allow requests to the local network from web hooks and services= checkedAllow requests to the local network from system hooks= checked
The final step before installing nmaas itself is to generate a GitLab personal access token which will allow nmaas to connect to the GitLab API. This can be done from the User Profile page:
1 2 | |
nmaas Installation
The final step is to install nmaas. nmaas uses SSH communication to connect between components, so we need to create an SSH key pair and store it in a Kubernetes secret. This can be done by executing the following commands:
A few parameters need to be customized in the values.yaml file, to reflect the environment where nmaas is deployed.
global.wildcardCertificateName– the name of the secret containing the TLS certificate to be used to secure the HTTP communicationglobal.nmaasDomain– the hostname where nmaas will be accessible.global.gitlabApiUrl- the API endpoint for GitLabglobal.gitlabApiToken.literal- the value of the personal access token created previously in GitLab.platform.properties.adminEmail– the email address which will receive various notifications such as new user sign-up, deployment errors, new application versions...platform.adminPassword.literal– the password used to login as the admin user in the nmaas Portal.platform.properties.k8s.ingress.certificate.issuerOrWildcardName– the name of the wilcard certificate to be used for customer deployed applications, or the name of the cert-manager issuer to use if certificates are issued ad-hoc.platform.properties.k8s.ingress.controller.ingressClass– the ingress class to be used for deployed applications. Should be set to nginx in the case of K3s and public in the case of MicroK8s.platform.properties.k8s.ingress.controller.publicIngressClass– the ingress class to be used for applications where the users have explicitly selected to enable public access (e.g. without a VPN). Since this is a local deployment, the value of this parameter should equal the value set inplatform.properties.k8s.ingress.controller.ingressClass.publicServiceDomain,externalServiceDomain– for a local deployment this parameter should be set to the same value asglobal.nmaasDomain.
| nmaas-values.yaml | |
|---|---|
| |
Once the values.yaml file has been customized, nmaas can be deployed by executing:
nmaas also requires an the stakater autoreloader component, which can simply be installed using the commands below. This component takes care of restarting the affected pods whenever a configuration change is submitted via GitLab.
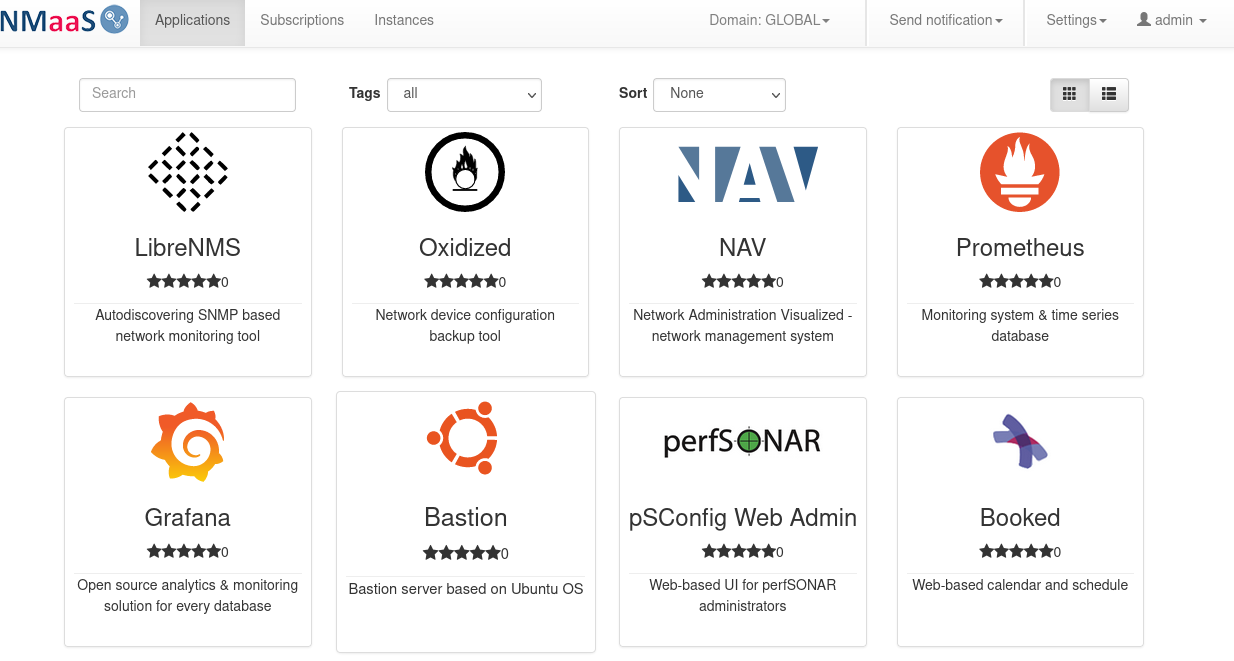
After the installation, login as the admin user should be possible with the configured password.
